Dyeing eggs - the natural way.

I learned this egg dyeing method back when I was a kid...if I remember correctly it was from someone in our church group when we had a craft day or something.
Supplies:
Onion Skins - I gather these from the grocery store, pulling the loose skins from the bottom of the onion bins, Winco works well. I've never been charged anything for them at the check-out counter, I just tell them it's for an art project.
9" x 9" squares of light cotton - We used one of Jillian's old t-shirts and just cut it up. We got 14 'squares' from one shirt. The squares do not need to be exact, just big enough to tie around the egg.
Large pot for boiling
Splash of White Vinegar

First, you lay one of the squares flat on the counter and add a handful of crushed and broken up onion skins. You want enough to form a layer or two around the egg once it's rolled up.

Place an egg in the center of your pile of crushed onion skins.

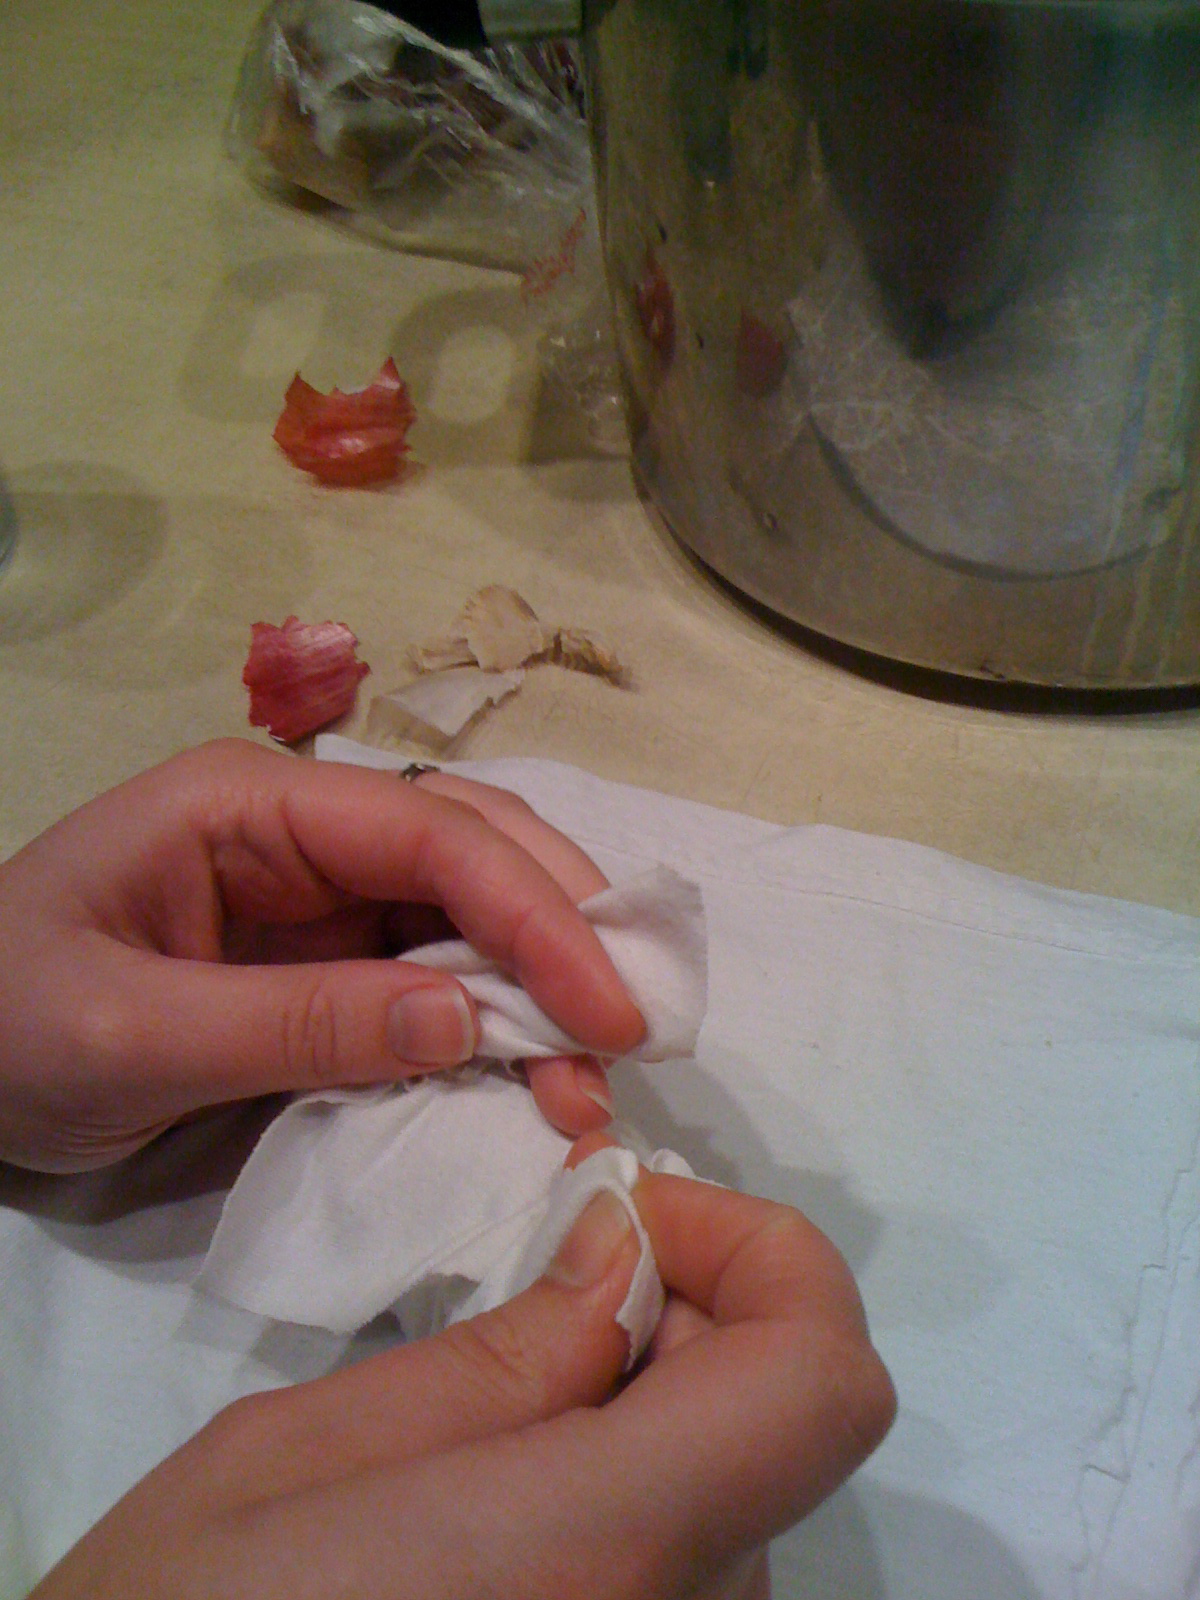
Next is the only tricky part: The idea is to tie the egg up in such a way that the onion skins are making contact with the shell. I take one corner and fold it over the top of the egg, placing onion skins around the egg as I do. Then, holding that in place, I fold the opposite corner over the egg, again, ensuring onion skins are in contact with the egg. This method leaves the two other corners available to be pulled together and tied, securing the egg and onion skins. There is no right way to do this. As long as you've got onion skins next to the egg shell this should work.

After you've tied all your eggs, place them in a large pot with enough water to cover and float the egg bundles just a bit. I add a couple splashes of white vinegar to the water to help make the magic happen.

Cover the pot and bring to boil. Once the water starts to boil, remove lid and lower temperature and simmer for 15 minutes. You'll notice that the water changes color from the onion skins, that's ok. Since they float a bit, I stir the pot some as the eggs cook, making sure all sides are really getting in the water.


After 15 minutes, I remove the pot form the stove and gently dump out the hot water and start running cold water over the eggs. It takes two or three cold water rinses before the bundles are cool enough to handle. Once they are, carefully untie them as they may still be warm inside.....and behold, your naturally dyed eggs....that I think almost look like marble.


